Hello, Pythonistas Welcome Back. Today we will see how to make a fully functional modern top-level window in CustomTkinter.
We will use the CTkToplevel.
Contents
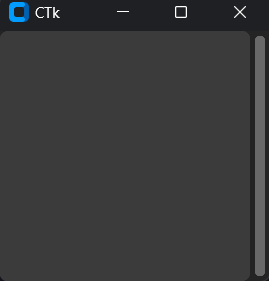
How Does CTkToplevel Look?
Basic Code
This is how you can make a simple top-level window in CustomTkinter (or CTk).
from customtkinter import CTk, CTkToplevel, CTkLabel, CTkButton
class ToplevelWindow(CTkToplevel):
    def __init__(self, *args, **kwargs):
        super().__init__(*args, **kwargs)
        self.geometry("400x300")

        self.label = CTkLabel(self, text="This is a Toplevel Window")
        self.label.pack(padx=20, pady=20)


class App(CTk):
    def __init__(self):
        super().__init__()

        self.button = CTkButton(self, text="open toplevel", command=self.open_toplevel)
        self.button.pack(padx=20, pady=20)

        self.toplevel_window = None

    def open_toplevel(self):
        if self.toplevel_window is None or not self.toplevel_window.winfo_exists():
            self.toplevel_window = ToplevelWindow(self)  # create window if its None or destroyed
        else:
            self.toplevel_window.focus()  # if window exists focus it


if __name__ == "__main__":
    app = App()
    app.mainloop()
It is unlike any other widget which is first created and then packed on the window. Why?
Well, this is not a widget in the first place. It is a window.
It resembles the basic CTk window.
You don’t need to create a separate class for the top-level window. However, if you don’t then your code will be out of your understanding soon as it grows big.
If you have followed this tutorial so far you might have never seen me use args and kwargs before. That was because we had not passed anything to the CTk window.
But we can to any widget for that sake. So, remember whenever you create a separate class for customizing any widget/window add args and kwargs.
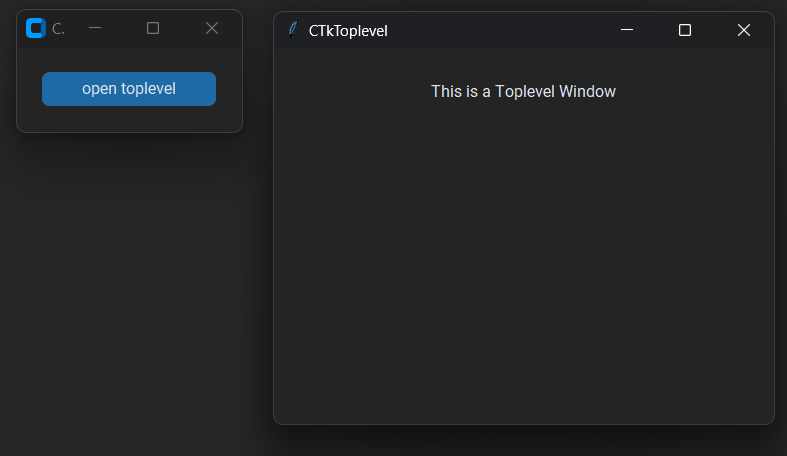
We have created a simple top-level window that has a label.
This window opens up or gets in focus whenever you press the button on the main window.
All Methods
- configure(attribute=value, …): – All attributes can be configured and updated,
- for example:
- toplevel.configure(fg_color=”red”)
- cget(attribute_name):- Pass the attribute name as a string and get the current value of the attribute
- for example:
- fg_color = toplevel.cget(“fg_color”)
- state(new_state):- Set the window state (‘normal’, ‘iconic’, ‘withdrawn’, ‘zoomed’), and returns the current state if no argument is passed.
I am not going to give any challenges at the end of such articles as they are just for your quick reference.
Note I haven’t included all the methods and attributes. You can always get that on the documentation.