Hello Pythonistas🙋♀️, welcome back.
Have you ever dreamed🤩 of building the next killer app with a beautiful🌟, intuitive interface?
Well, with CustomTkinter GUI, you can make those dreams a reality.
Contents
Event-driven programming
Have you ever played🎲 Jenga?

Jenga is a game where players⛹️ take turns removing blocks🟫 from a tower🗼 and placing them on top, without causing the tower to fall.
In Jenga, every turn you take makes something happen to the tower🗼, and it might start shaking or fall down because of it.
Event-driven programming is similar to this.
In this type of programming, the flow🌊 of the program is determined by the events that occur, like user interaction🖦 (mouse click or key press), system events(like a timer⌚ going off), etc…
Event-driven programming is commonly used in graphical user interface 🗔 (GUI) programming, where user interactions such as mouse clicks and keyboard presses trigger specific actions to be executed.
It is also used in network🌐 programming, where incoming messages from other computers💻 or devices📱 can trigger actions in the program.
Now, why am I talking🗣️ about event-driven programming?
Well, this is because all the GUIs operate⚒️ on event-driven programming.
CustomTkinter makes use of the event-driven programming paradigm to respond to user input and create dynamic user interfaces.
What is CustomTkinter?
CustomTkinter is a python GUI library that is built on top of python’s standard tkinter library.
It enables us to build minimalistic, modern💻, and beautiful🌟 GUI applications with the ease of tkinter’s syntax.
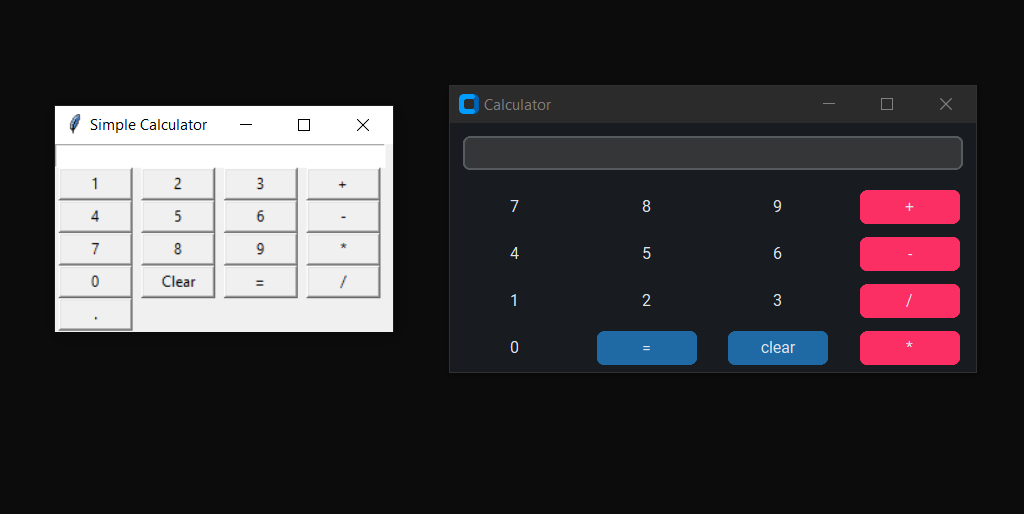
Here’s how a calculator🖩 app would look in tkinter and in CustomTkinter. (Both have nearly the same syntax.) :-
So, you know why to use it.
Let’s start getting our hands wet with GUI…
Creating a window
So, to create a window (well its the box📦🗔 that opens up whenever you open any windows app) we first need to install and then import the library:
To install it, write✍🏻 in any terminal:
pip install customtkinterTo import it, write✍🏻 in your code file:
from customtkinter import *Now, let’s create an instance of the CTk class from this library:
app = CTk() #You can give any name 'app' isn't compuslory.Finally, we need to create an event loop➰ to run this app(window):
app.mainloop()When you run this you’ll see a grey⬛ box with a black◼️ top line and 3 buttons➖🔳❌ in the top right corner.
A good start.
But, do all apps look like that?❓
No, they have some content, buttons, etc… in this box.
What are Widgets?
Widgets solve this problem.
They are nothing but the text, the button, etc that displays on a window.
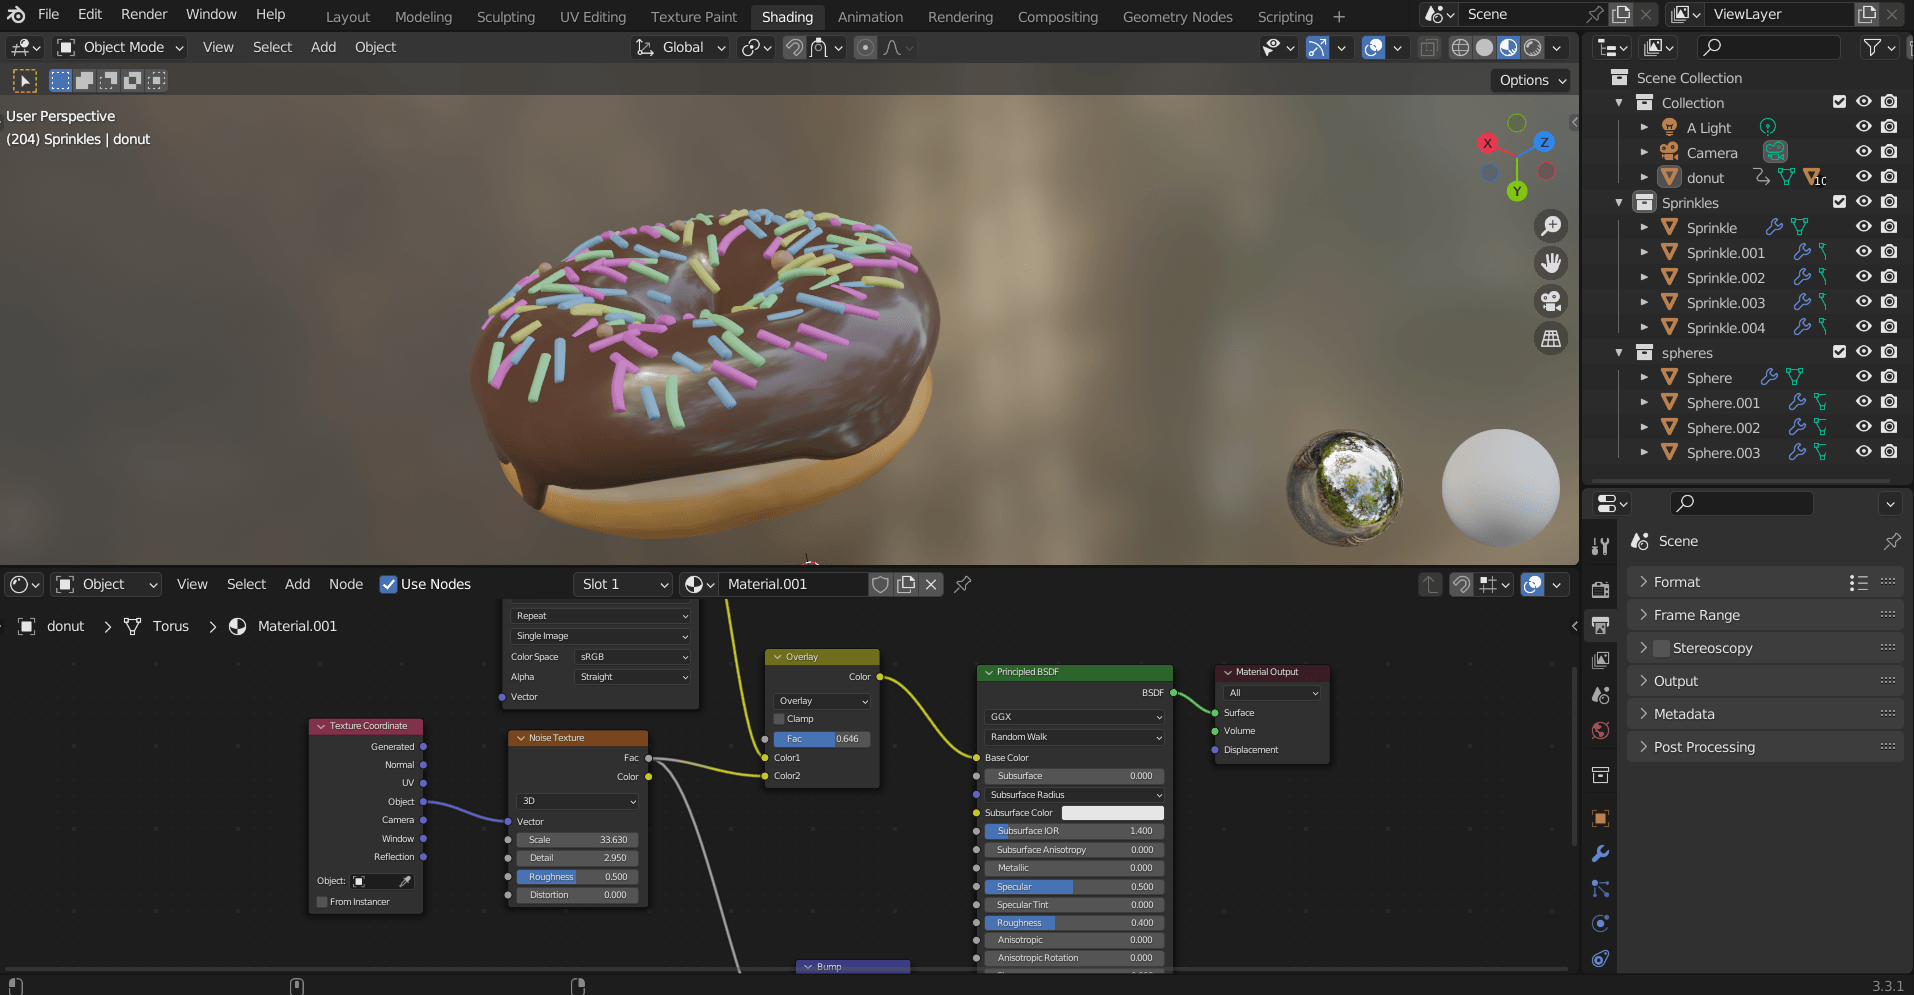
Here, the image, drop-downs, buttons, the x,y,z axis, etc everything in this image is a widget.
Let’s display a simple text on our window.
Displaying a label
Remember🤔 you🧑 started programming with hello world🥺, we will start GUI with the same today.
So, to display a widget on the window we use a Label widget.
The way you make one is:
app = CTk()
t = CTkLabel(master=app, text="Hello World!")
app.mainloop()
Here, CTkLabel is the class that enables you to make this widget.
master👩🏫 is to tell the class that the label is to be displayed on the app window.
text is the text that will be displayed on the window.
Run it and you’ll see the same grey box.
Why?
Well, because whenever you make a widget it goes in 2✌️ parts:
- Make the widget
- Display it on the window
There are around three3️⃣ major functions to display any widget.
We will go with the pack() function first☝️.
It’s the most straightforward one.
app = CTk()
t = CTkLabel(master=app, text="Hello World!")
t.pack()
app.mainloop()
You can also write it this way:
app = CTk()
t = CTkLabel(master=app, text="Hello World!").pack()
app.mainloop()
You’ll see a small cute🧸 grey box with Hello👋🏻 World! written in it.
Conclusion
Well, well, well!🎉 We have come to the end of this post, and you might agree👍, we’ve learned🤓 quite a lot about event-driven programming (Or say Jenga-style😎 programming) and CustomTkinter.
We’ve explored the basics of creating windows🗔, understanding widgets🔘, and displaying labels🏷️. We even took a look👀 at a calculator app in both tkinter and CustomTkinter.
Now, if you’ll excuse me, I think I’ll go create a window that says “Goodbye👋, World!”
But before I do that, let me remind you to keep practicing👨💻 your coding skills and always stay curious🤨.
Who knows, you may just end up creating the next big game👾 or a revolutionary app!
Until next time, keep calm😌 and code on!
Challenge 🧗♀️
Your challenge🧗♀️ is to write the same code in OOP format. This is because all the GUIs are developed in OOP format.
Complete code:
from customtkinter import *
app = CTk()
t = CTkLabel(master=app, text="Hello World!")
t.pack()
app.mainloop()
Stay happy😄 and keep coding and do suggest any improvements if there.👍
Take care and have a great😊 time I’ll see you soon in the next post…Bye Bye👋


You are not right. I suggest it to discuss. Write to me in PM, we will talk.
May I know about what?
It is remarkable, rather useful phrase
I join told all above. We can communicate on this theme. Here or in PM.
I think, that you are not right. Write to me in PM, we will talk.
May I know what am I not right about so that I can improve??
I’m impressed, I need to say. Actually hardly ever do I encounter a weblog that’s each educative and entertaining, and let me inform you, you will have hit the nail on the head.
When I initially commented I clicked the “Notify me when new comments are added”checkbox and now each time a comment is added I get three e-mails with the same comment.Is there any way you can remove people from that service?Bless you!
Happy to know that you are having fun while learning that was the sole purpose of python-hub.com
I did remove you. Let me know if the problem persists.