Hello, Pythonistas Welcome Back. Today we will see how to make a modern Label in CustomTkinter.
We will use the CTkLabel Widget.
Contents
How Does CTkLabel Look?
Basic Code
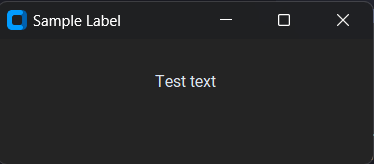
This is how you can make a simple Label in CustomTkinter (or CTk).
# Import necessary modules
from customtkinter import CTk, CTkLabel

class App(CTk):
    def __init__(self):
        # Inheriting constructor of super class
        super().__init__()
        # Giving apt title and window size
        self.title("Sample Label")
        self.geometry("300x100")

        # Creating label and packing it to the window.
        self.label = CTkLabel(self, text="Test text")
        self.label.pack(padx=20, pady=20)

app = App()
app.mainloop()
Like any other widget in CTk, it is first created and then it is pushed to the window. Master is a compulsory argument that says where the label will stay.
If you skip the text argument then it will display: `CTkLabel`
CTkLabel is not an interactive widget like the ones we previously saw. It is just used to display some text.
Ideally, the text should be one line or less.
How To Add Image To CTkLabel?
This widget is used to display text usually. However, you can add an image to the label.
To open any image🖼️ we need to install and import the 🛏 pillow library.
Now, this is not the only library📚 to deal with images in python but, it is the easiest for our purpose.
To install pillow:
pip install PillowTo import the pillow library(we only need its Image module):
from PIL import ImageYou first need to decide👩🏼⚖️ whether you want the image in dark or light mode.
- Then use the Image module’s open function the open the image:
self.ocean_img = CTkImage(light_image=Image.open("ocean.jpg"),size=(300,400))
I’ll be using this image from Unsplash:
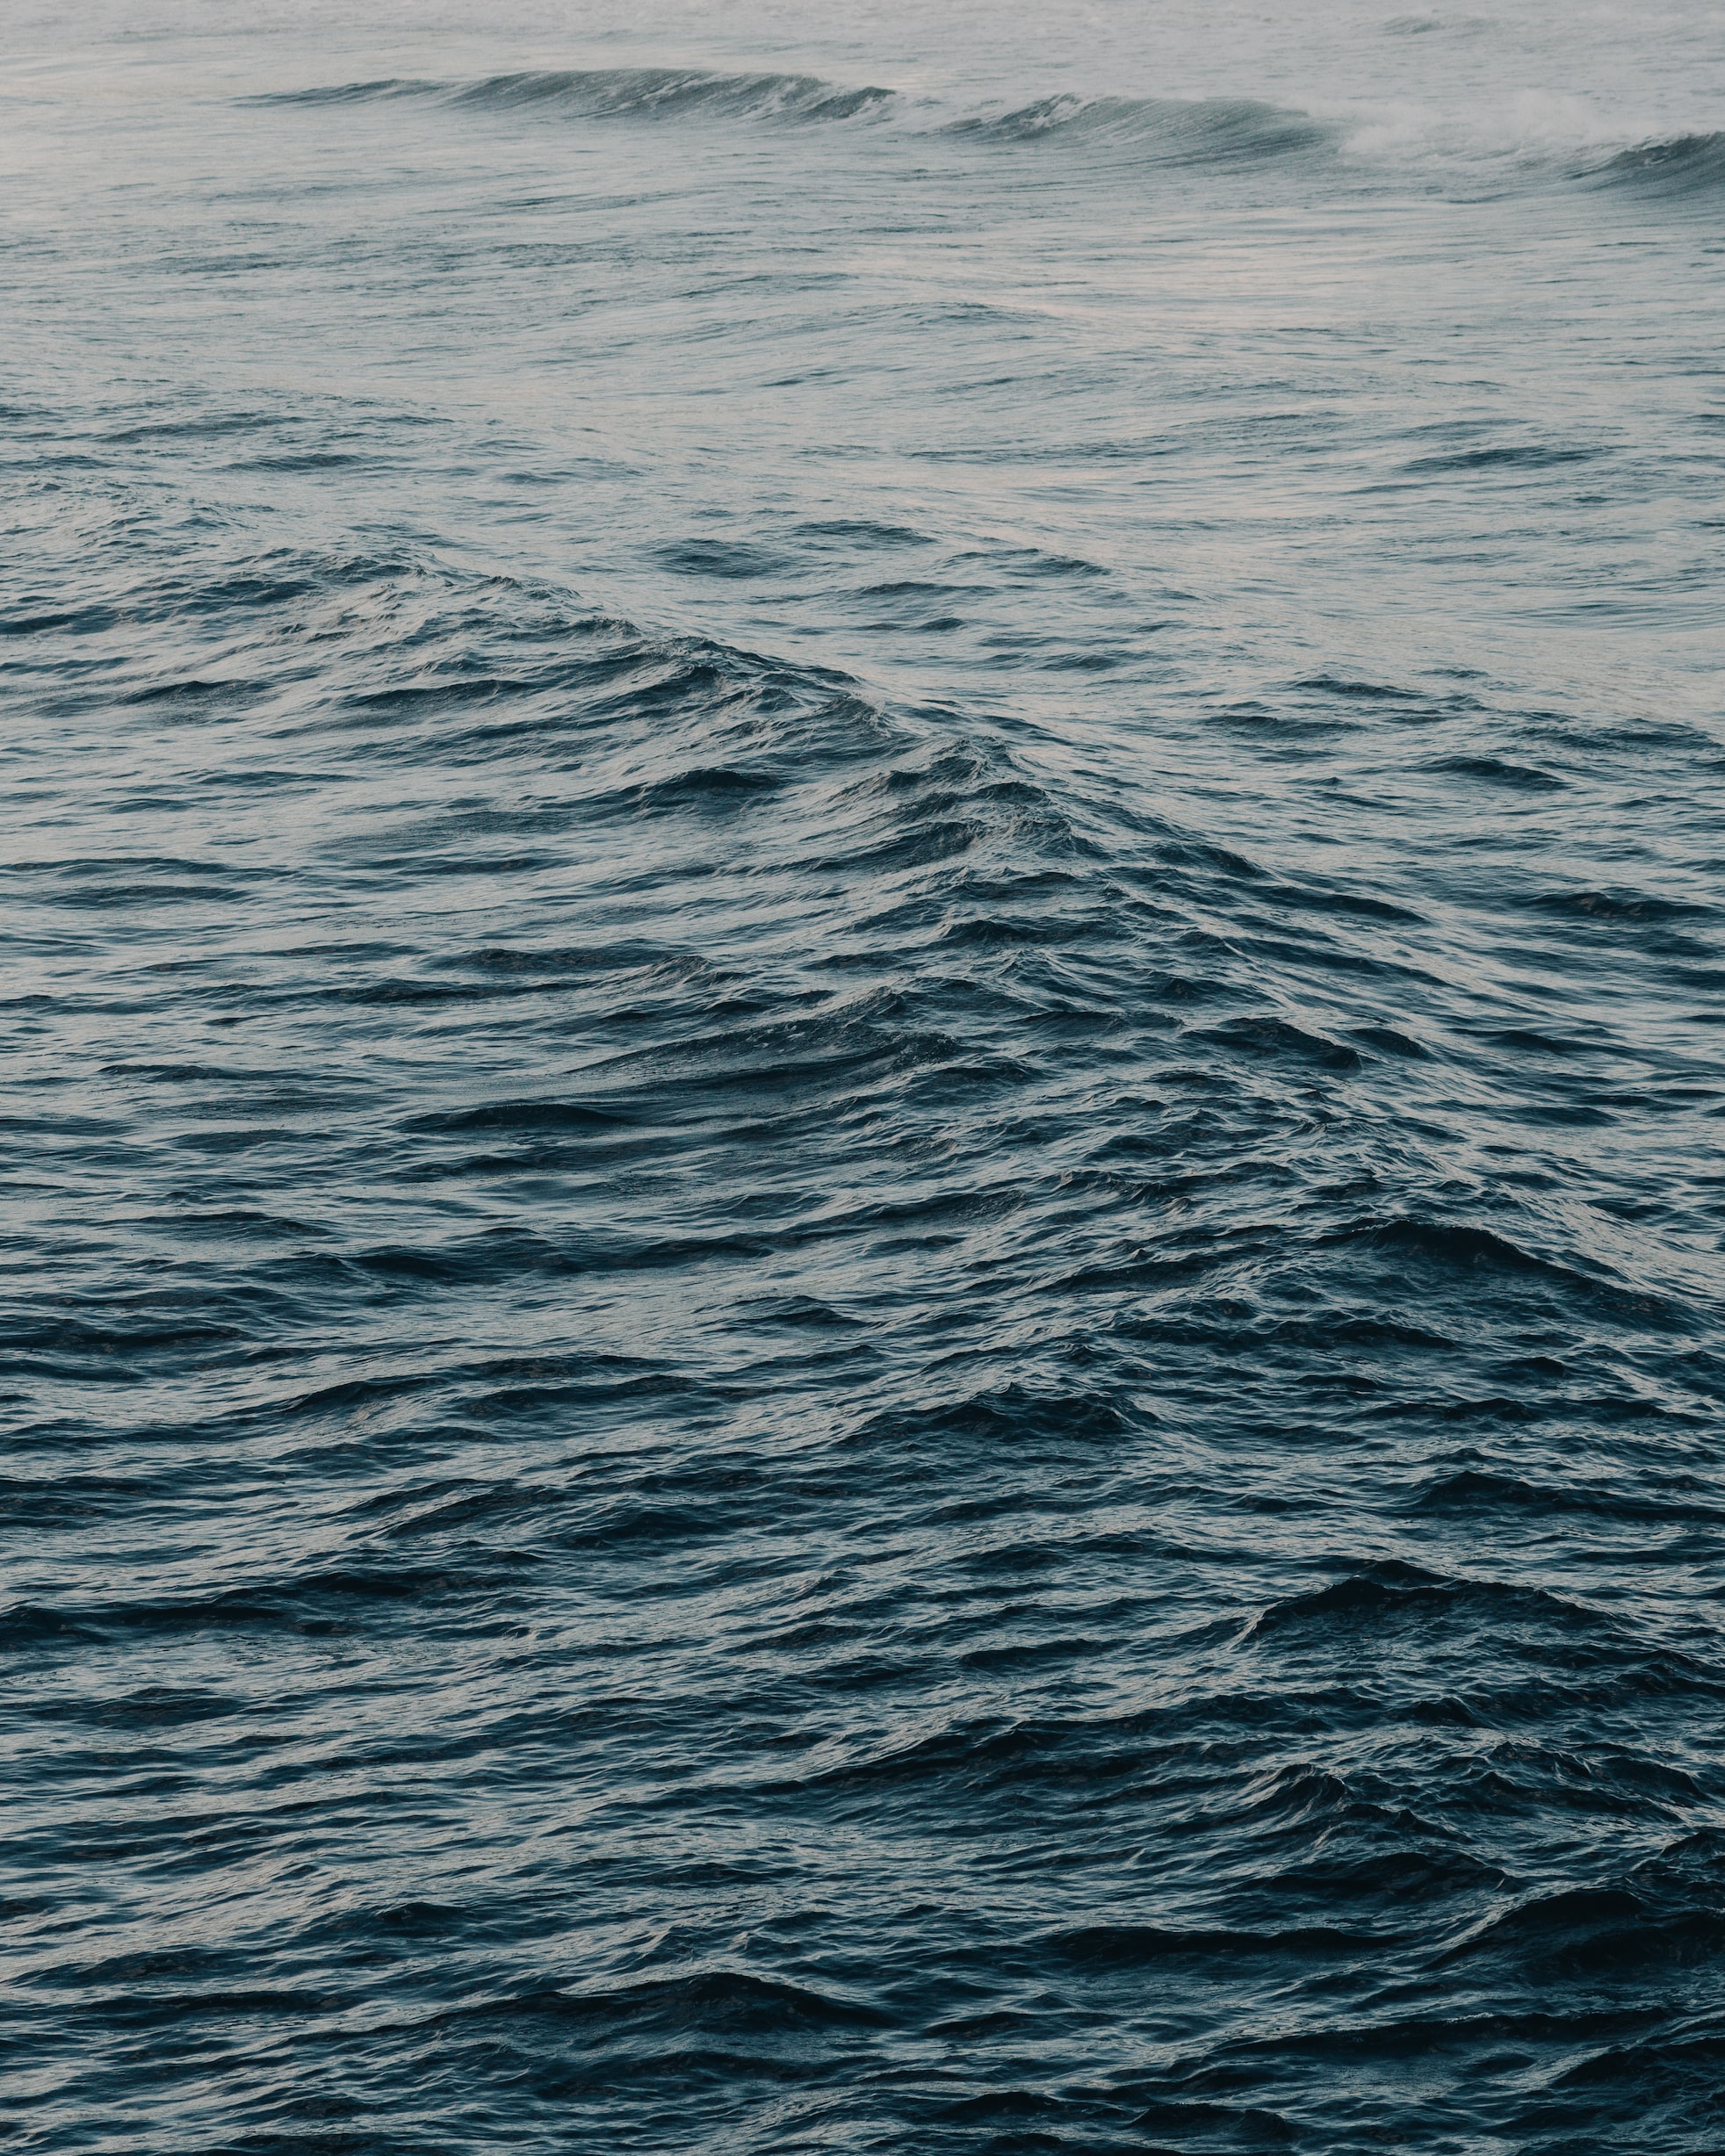
- We need to give the label widget a master, the image🖼️ we opened, and a blank text(So that CTkLabel doesn’t appear on the image)
        self.il = CTkLabel(self, image=self.ocean_img, text="")
        self.il.pack(pady=20, padx=20)
#pady=20 and padx=20 is to give some space from all 4 sides
Full Code(Click For Full Code):
# Import necessary modules
from customtkinter import CTk, CTkLabel, CTkImage
from PIL import Image

class App(CTk):
    def __init__(self):
        # Inheriting constructor of super class
        super().__init__()
        # Giving apt title and window size
        self.title("Image Label")
        # self.geometry("300x100")

        # Getting the image
        self.ocean_img = CTkImage(light_image=Image.open("ocean.jpg"),size=(300,400))

        # Creating label and packing it to the window.
        self.il = CTkLabel(self, image=self.ocean_img, text="")
        self.il.pack(pady=20, padx=20)

app = App()
app.mainloop()
You can read this if you wish to create a gallery using the label widget.
All Configurations
| argument | value |
|---|---|
| master | root, tkinter.Frame or CTkFrame |
| textvariable | tkinter.StringVar object |
| text | string |
| width | label width in px |
| height | label height in px |
| corner_radius | corner radius in px |
| fg_color | foreground color, tuple: (light_color, dark_color) or single color or “transparent” |
| text_color | label text color, tuple: (light_color, dark_color) or single color |
| font | label text font, tuple: (font_name, size) |
| justify | specifies how multiple lines of text will be aligned with respect to each other: “left” for flush left, “center” for centered (the default), or “right” for right-justified |
| padx | extra space added left and right of the text, default is 1 |
| pady | extra space added above and below the text, default is 1 |
I am not going to give any challenges at the end of such articles as they are just for your quick reference.
Note I haven’t included all the methods and attributes. You can always get that on the documentation.
To see the label widget in the tkinter click here.