Hello techies, I hope you all are doing.
So, as we discussed yesterday I am starting off with building ChillPill.
To start making ChillPill we first need to create a Flutter App.
(I’ll take this slow. So that everyone can follow along)
Create A Flutter App In VS Code: ChillPill
- Create a folder.
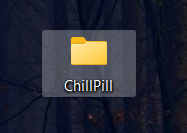
- Now drag this folder in VS Code and head over to command pallete and type in Flutter Project.
- Then select Application. And type in the project’s name

And the project is created.
Run The Flutter Project: ChillPill
There are 2 ways to run this:
- Go to main.dart inside the lib folder. And press f5.
- Go to the project’s directory and run the command: flutter run
But before this, we need an emulator or your real device.
If you are doing this for the first time you need an emulator.
For this, you would need to first set up Android Studio. You would also need node js and of course java.
For a complete installation guide on Flutter, I suggest you get through this video.
Customizing Our Flutter App: ChillPill
You will see that we have a prebuilt counter app. You can play around with it.
Right now we don’t need that. So, let’s clean up the code:
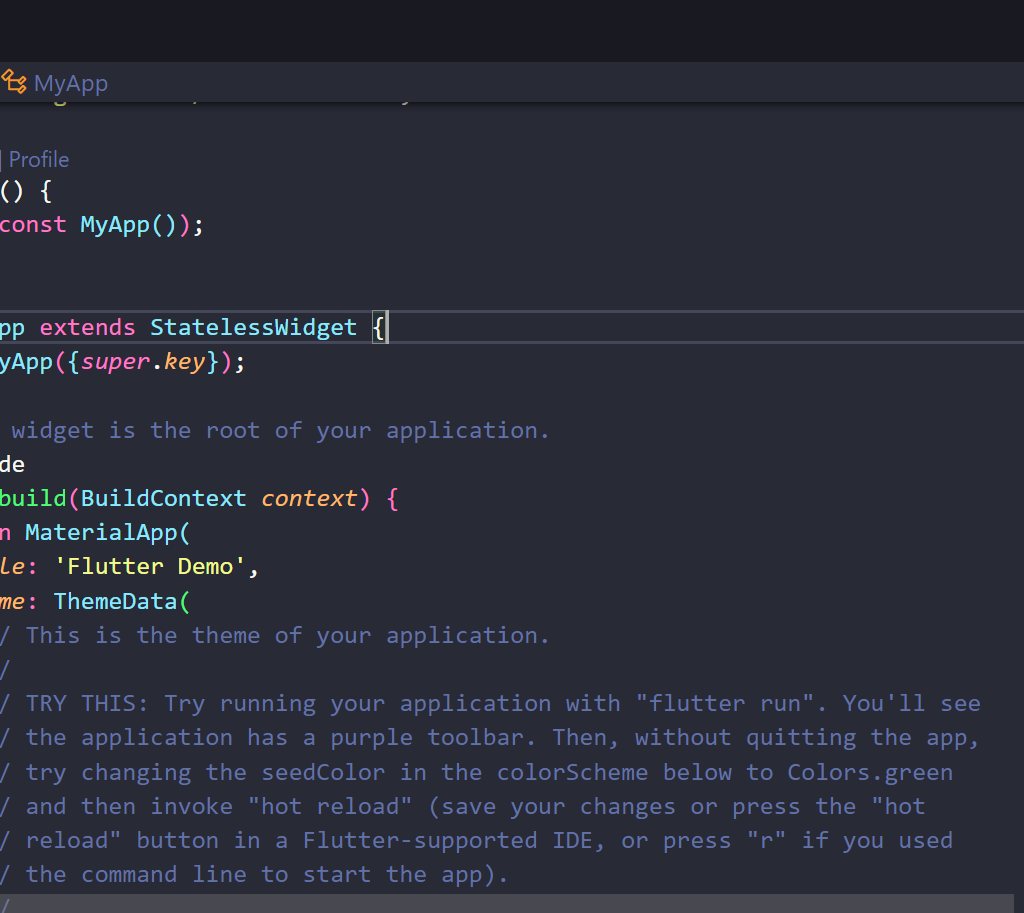

Now what did I change?

Source Code
import 'package:flutter/material.dart';

void main() {
  runApp(const MyApp());
}

class MyApp extends StatelessWidget {
  const MyApp({super.key});

  // This widget is the root of your application.
  @override
  Widget build(BuildContext context) {
    return MaterialApp(
      title: 'Flutter Demo',
      home: const MyHomePage(title: 'Let\'s Procrastinate'),
    );
  }
}

class MyHomePage extends StatelessWidget {
  const MyHomePage({super.key, required this.title});
  final String title;

  @override
  Widget build(BuildContext context) {
    return Scaffold(
      appBar: AppBar(
        title: Text(title),
      ),
      body: const Center(
          child:Text("Chill Pill"),
      ),
    );
  }
}
Click Here For a Complete Explanation
- Firstly, The
material.dartpackage of flutter is imported it is the bare minimum requirement to run this app. It has the built-in widgets. - And yes everything in Flutter is a WIDGET.
- Then, like any other programming language code in Dart starts with the main method.
- In this main method, we are returning a class. This class is called
MyApp. This class is a stateless widget. For now, just remember this word we will discuss more later in our journey to build our ChillPill. - This class builds a
MaterialApp. It is the root of our application. Everything starts from here. - We have provided it 2 attributes:
- title:
- home:
- The MyHomePage is again a stateless widget. It builds a Scaffold. It is nothing but a plain white widget that holds other widgets. (For now this much is enough).
- It would say let’
So, that’s how we create a Flutter app. Tomorrow we will deep dive into more features and customizations.
Stay Tuned…