Ever wanted to build your own Flappy Bird game?
Well, buckle up because we’re about to do just that—from setting up the project to making that little bird flap its wings and dodge pipes like a pro.
No fancy game engines, just good ol’ HTML, CSS, and JavaScript.
You’ll get hands-on with gravity, game logic, and animations—all while keeping things simple and fun.
Ready to bring this game to life?
Let’s get flying….🐥🐤
Flappy Bird Game HTML, CSS, and JavaScript
Contents
GitHub reference credit: https://github.com/kaizhelam/Flappy-Bird-Game/
Play It Here
Create an account with Code Pen if you do not already have that.
Then verify your email.
Next head over to this code pen and fork it: https://codepen.io/python-hub/pen/raNvWZb
Now You can play it in full screen by clicking on this arrow.

The sounds aren’t added to this.
1. Project Setup
Create a folder named Flappy Bird.
In this create 3 files:
- index.html
- style.css
- script.js
Create two folders:
- images
- sound effects
We are going to have 4 images:
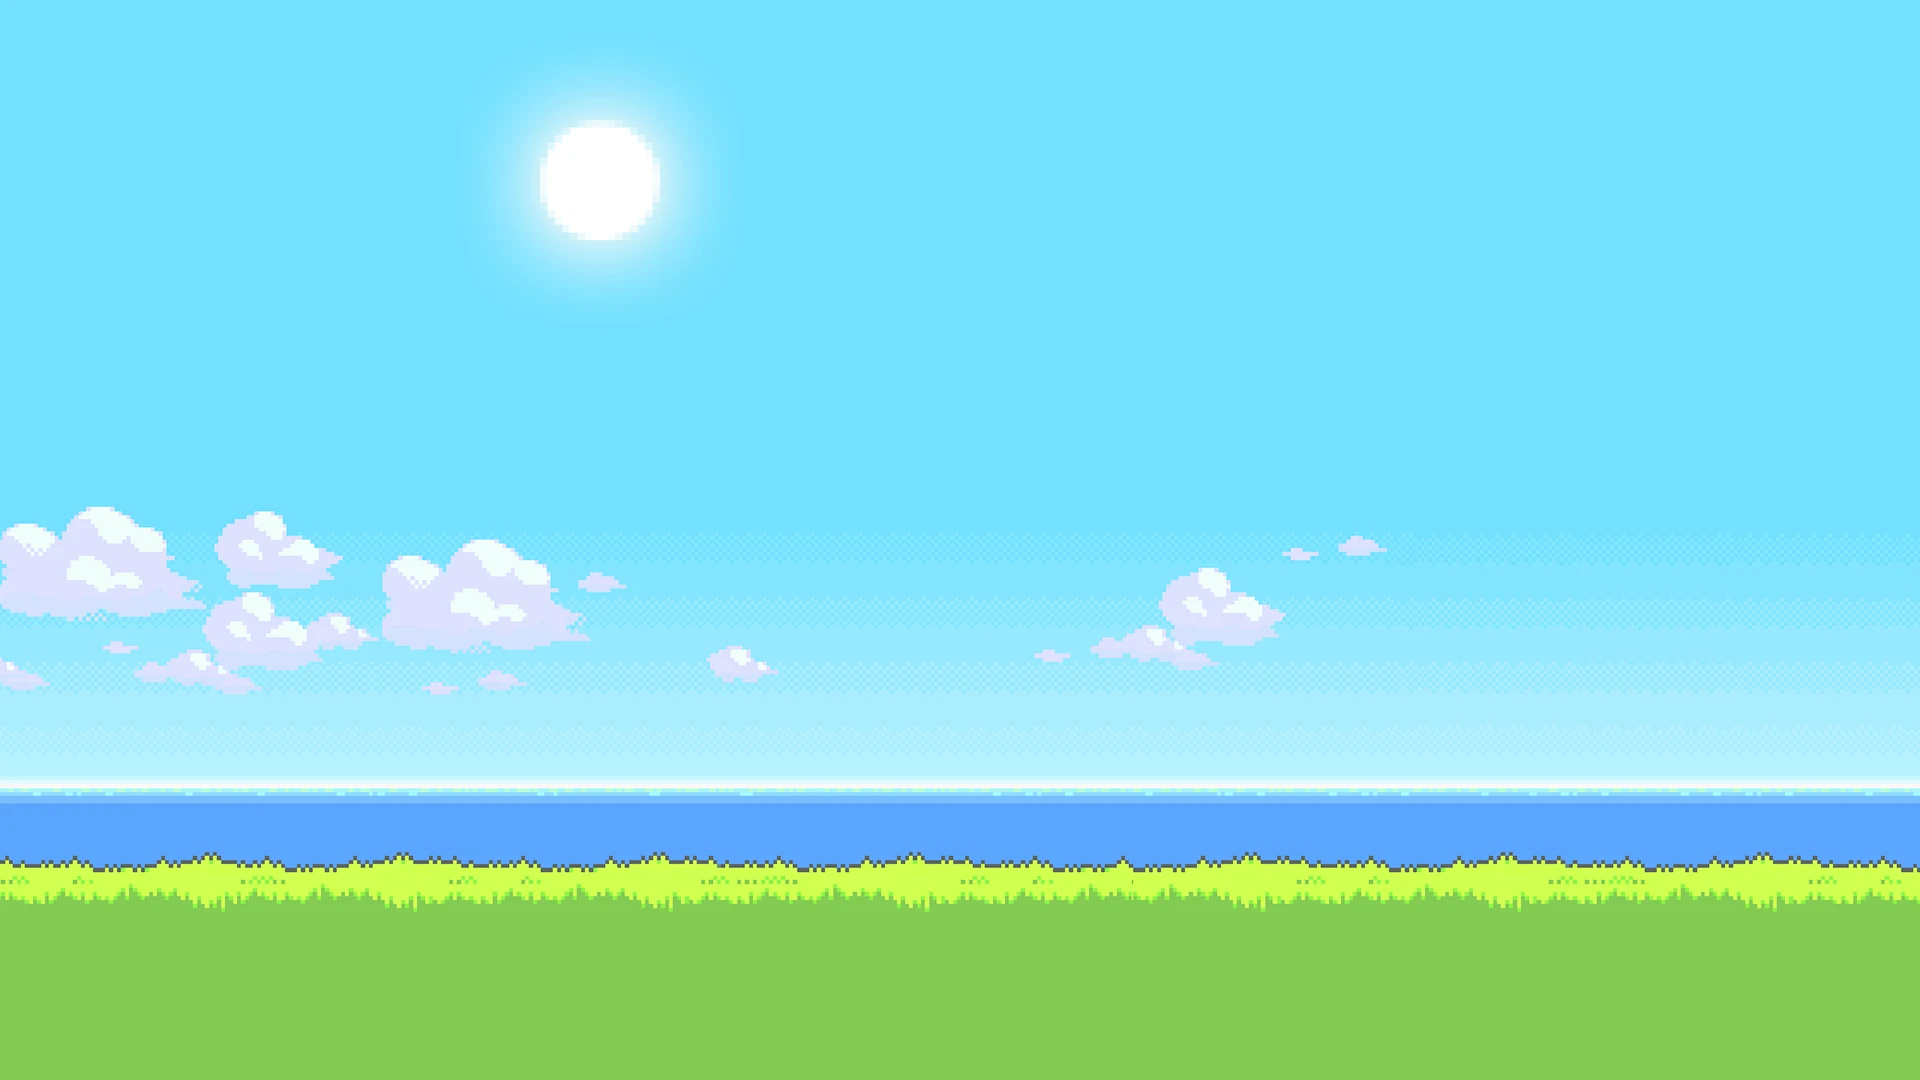
- Background image
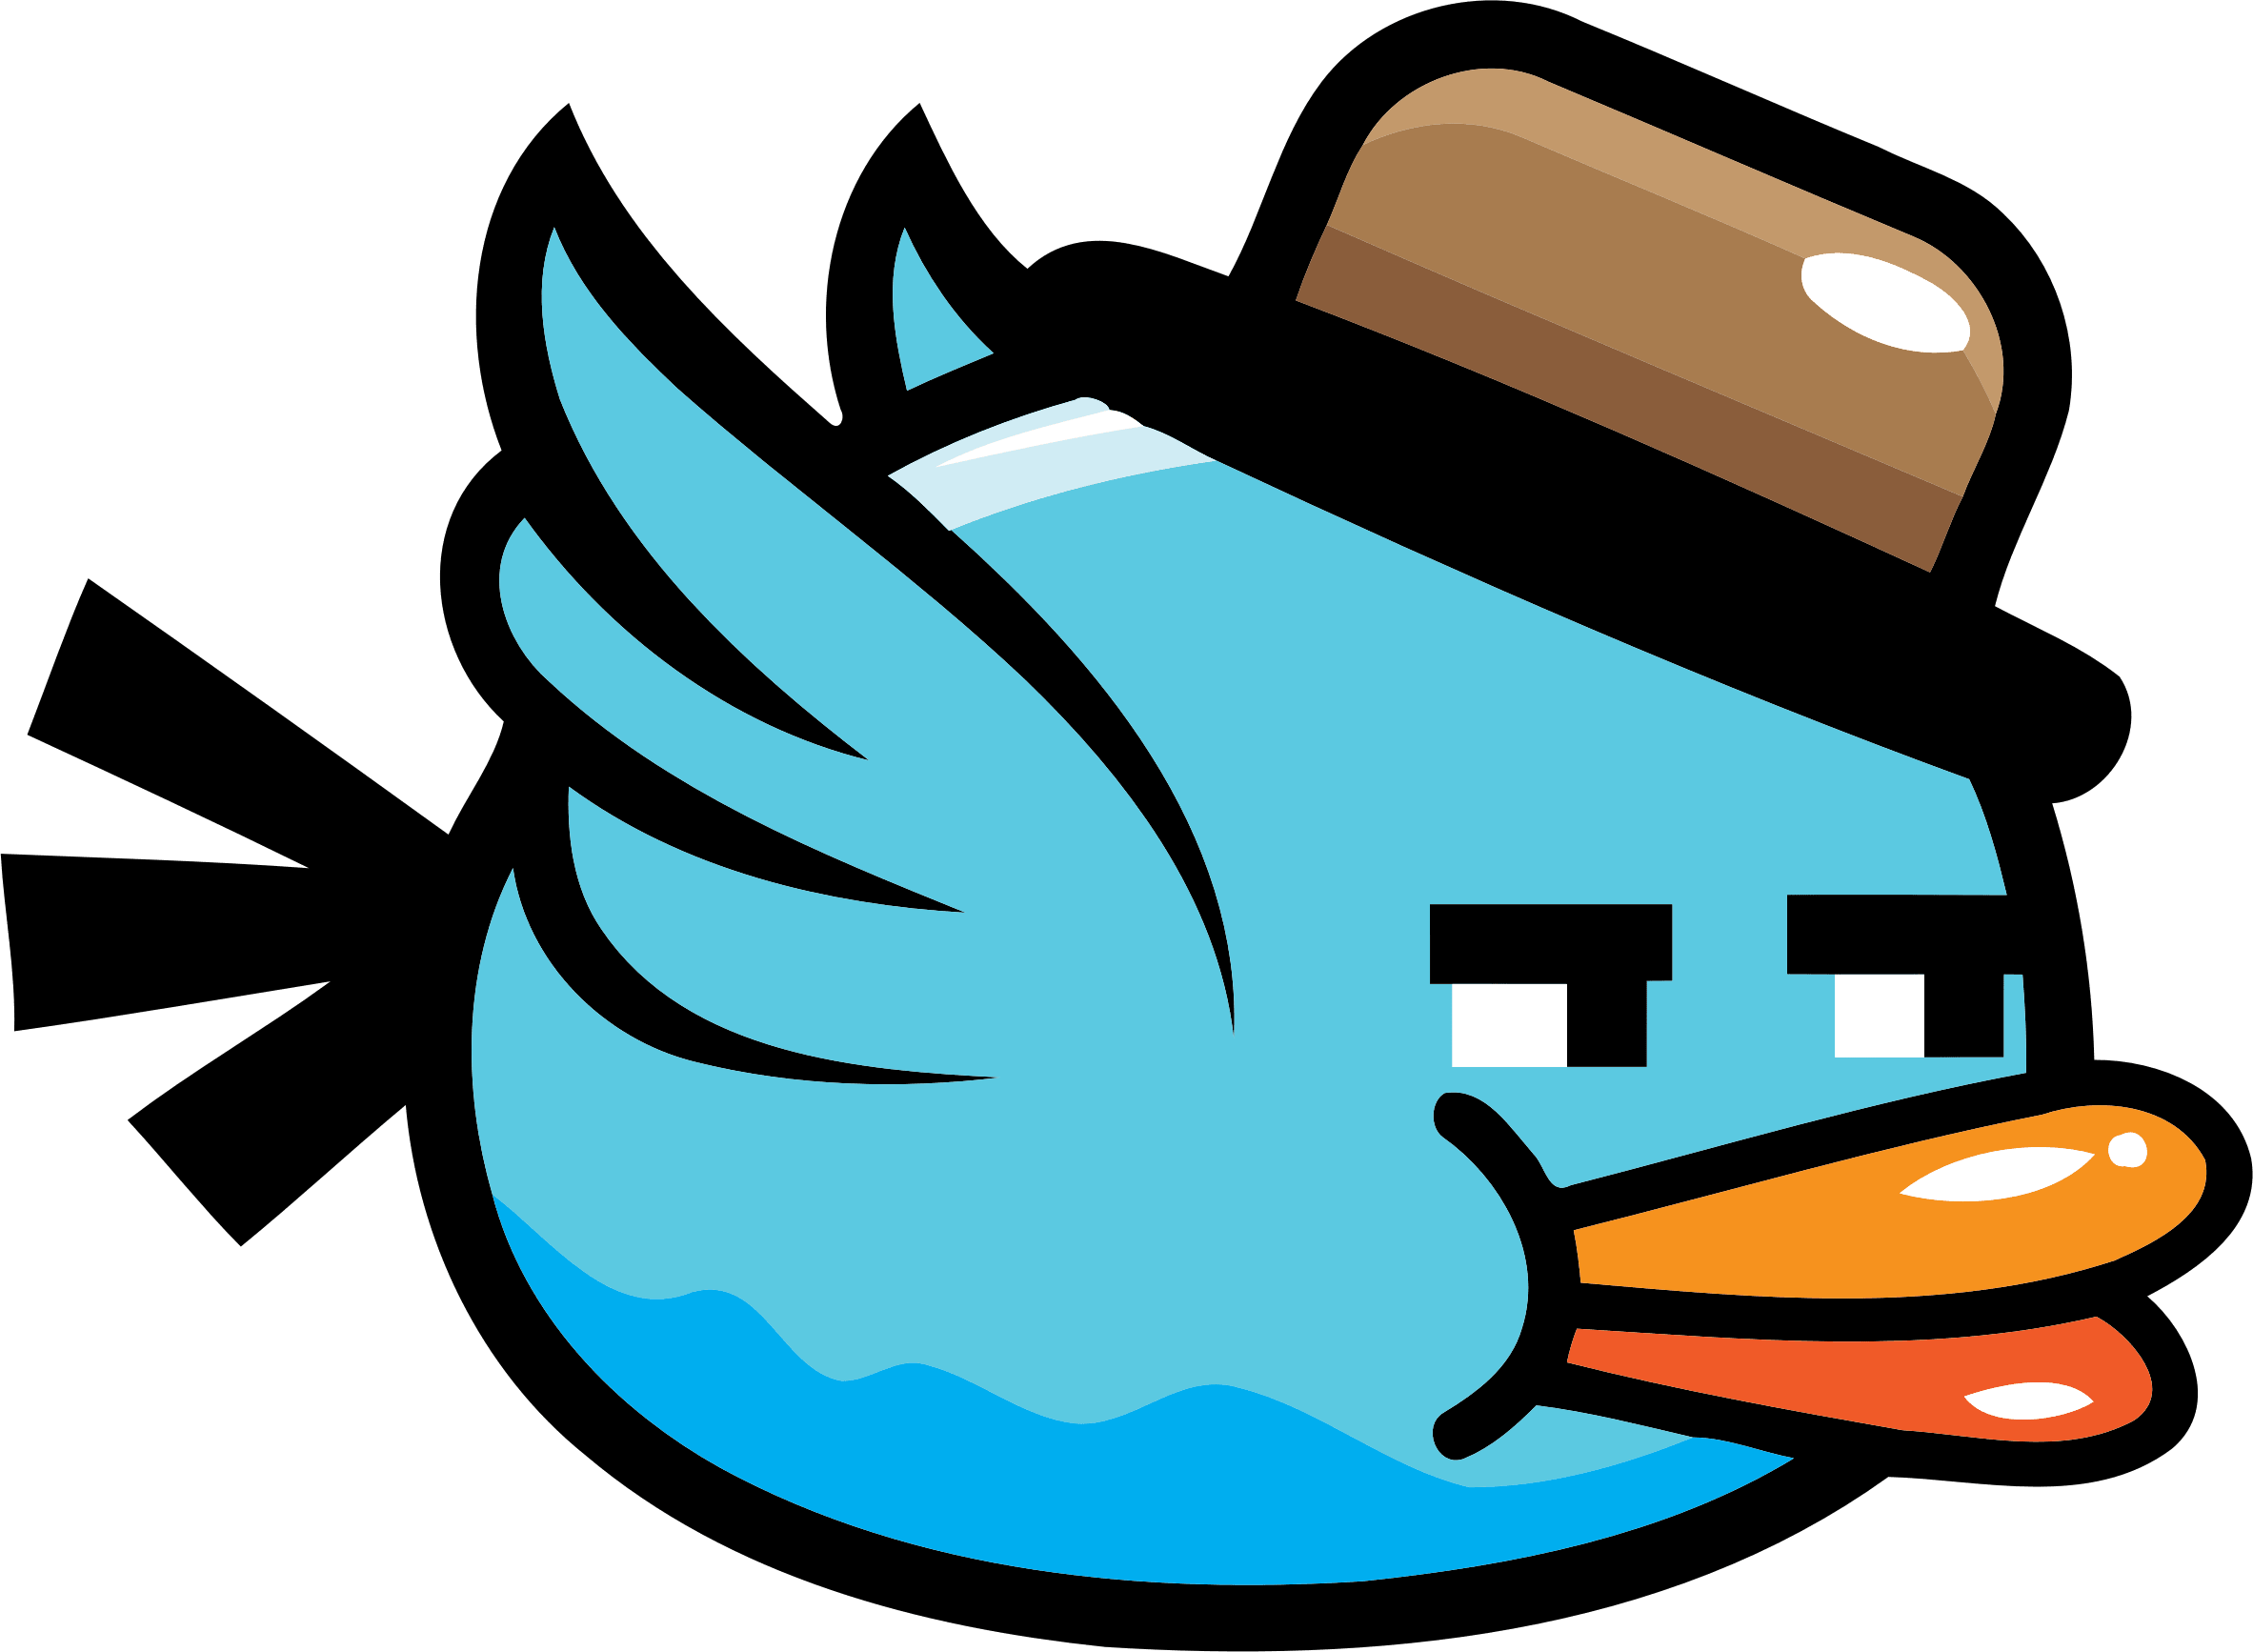
- Bird “wings up” image
- Bird “wings down” image
- A favicon icon for our browser tab
🗝️A favicon is a small 16×16 pixel icon that represents a website in browser tabs, bookmarks, and search results. It helps users identify and remember a website easily. It can even show up in search results next to the web page’s URL. In some cases, like Google Chrome, favicons appear on the browser’s homepage.
We will have 2 sounds: one for point earned 🪙 and one for death or say game over☠️.
2. Background of The Game
Head over to the index.html file.
<!DOCTYPE html>
<html lang="en">
<head>
    <!-- Browser tab icon comes from here -->
    <link rel="icon" type="image/png" href="images/favicon.ico"/>
    <!-- Title of our game -->
    <title>Flappy Bird</title>
    <!-- Linking css and javascript files -->
    <link rel="stylesheet" type="text/css" href="style.css">
    <script src="script.js" defer></script>
</head>
<body>
    <!-- This will be the pleasing day's background -->
    <div class="background"></div>
</body>
</html>
Then, let’s provide a background image that occupies the complete screen through CSS.
style.css:
body {
    margin: 0;
    padding: 0;
    /* So that we don't have to see
       the white stripes on any of
        the 4 sides */
}
.background {
    /* Occupy complete screen */
    height: 100vh;
    width: 100vw;
    background-image: url(images/background-img.png);
    /* Make sure that the image shows up completely */
    background-size: cover;
    /* Make sure the image is compatible with all the browsers */
    -webkit-background-size: cover;
    -moz-background-size: cover;
    -o-background-size: cover;
}
Here’s how your screen should look:
3. Let’s Get The Bird In The Picture
<!-- initialize bird's image -->
    <img src="images/Bird.png" alt="Flappy" class="bird" id="bird-1">
Now, if you just put this up in HTML and run it. You won’t see a cute little bird.
You’ll see a monster. That too below this background.
Let’s bring CSS to our rescue. (from the monster that doesn’t fly in the sky.)
.bird {
    /* to shrink down the monster */
    height: 100px;
    width: 130px;
    /* to keep it stuck at the top left corner
     when the game has just begun */
    position:fixed;
    top:40vh;
    left:30vw;
    /* To keep our birdy above all
     the possible upcoming layers. */
    z-index: 100;
  }
4. Let’s Get The Bird Moving
Javascript will help us to move this bird.
Let’s go to the script.js
Can we fly??
Of course not but why?
Well cause’ gravity pulls us down and we don’t have wings like birds to fly.
➡️ Get the bird in js file:
let bird = document.querySelector('.bird');
let img = document.getElementById('bird-1');
➡️ Initialize game variables:
// bird's current position details
let bird_props = bird.getBoundingClientRect();
let bird_dy = 0; // Bird's vertical speed
let gravity = 0.5; // To pull the bird down
let game_state='Play';
// This method returns DOMReact -> top, right, bottom, left, x, y, width and height
let background = document.querySelector('.background').getBoundingClientRect();
We are first getting the bird’s current position. Then the bird_dy is to keep the pace of the bird moving up and down.
And the gravity will stimulate real world gravity by pulling the bird down. And game_state is to start the game. The background variable has position of our background image.
➡️ Create a method to apply gravity to the bird and move it up and down on the arrow or space key press with wings flapping.
function apply_gravity() {


}
➡️ Inside The method.
if (game_state != 'Play') return;
//We do not do anything if the game_state is not ‘Play’.

bird_dy = bird_dy + gravity; // Gravity increases speed downwards
If the game is to be played we start applying gravity to the bird.
Note: the higher the value of bird_dy the closer the bird gets to the ground.
Whenever I press the arrow key or the spacebar, I’ll change the bird’s image and move it up.
    // Event listener for jump
    document.addEventListener('keydown', (e) => {
        if (e.key == 'ArrowUp' || e.key == ' ') {
            img.src = 'images/Bird-2.png'; // Change to wings-up image
            bird_dy = -7.6; // Move bird upwards
        }
    });
To show the flapping effect we will then change the image as soon as the user releases the key.
document.addEventListener('keyup', (e) => {
        if (e.key == 'ArrowUp' || e.key == ' ') {
            img.src = 'images/Bird.png'; // Change back to wings-down image
        }
    });
To end the game if the bird is out of the background screen.
// if the bird gets out of the screen, end the game.
    if(bird_props.top <= 0 || bird_props.bottom >= background.bottom){
        game_state = 'End';
        window.location.reload();
        return;
    }
All of it works because of these two lines.
These lines update the bird’s position based on bird_dy .
bird.style.top = bird_props.top + bird_dy + 'px'; // Update bird's position
bird_props = bird.getBoundingClientRect(); // Update bird's position data
We need to continuously call the gravity method. So that if I don’t press anything the bird keeps coming down.
requestAnimationFrame(apply_gravity); // Keep applying gravity➡️Call the method first
requestAnimationFrame(apply_gravity); // Outside the methodNow test it out the bird should keep falling unless you press the arrow up or spacebar keys.
🗝️The requestAnimationFrame() method tells the browser that you wish to perform an animation and requests that the browser call a specified function to update an animation before the next repaint.
Note: Your callback routine must itself call requestAnimationFrame() if you want to animate another frame at the next repaint.
5. Give It A Game Vibe
See it’s not a great idea to start the game just as the browser loads. It will confuse the user in vain.
However, if we give some intro then the user gets to know what to do next and will be more excited in facing the game’s challenge.
Add this inside the HTML:(This will be after the image.)
<!-- Giving it a game vibe -->
    <!-- Start message -->
    <div class="message">
        Enter To Start Game <p><span style="color: red;">↑</span> Arrow Up to Control</p>
    </div>
    <div class="score">
        <!-- Score will be written here -->
        <span class="score_title"></span>
        <!-- The current score will be here -->
        <span class="score_val"></span>
    </div>
Then let’s style it up. (Just a little bit of styling to make it look pretty.)
.message {
    position: absolute;
    z-index: 10;
    color: black;
    top: 30%;
    left: 50%;
    font-size: 4em;
    transform: translate(-50%, -50%);
    text-align: center;
}
.messageStyle{
    background: white;
    padding: 30px;
    box-shadow: rgba(0, 0, 0, 0.24) 0px 3px 8px;
    border-radius: 5%;
}
.score {
    position: fixed;
    z-index: 10;
    height: 10vh;
    font-size: 10vh;
    font-weight: 100;
    color: white;
    -webkit-text-stroke-width: 2px;
    -webkit-text-stroke-color: black;
    top: 0;
    left: 0;
    margin: 10px;
    font-family: Arial, Helvetica, sans-serif;
}
.score_val {
    color: gold;
    font-weight: bold;
}
The score thing isn’t showing up because it’s empty in HTML we will update that directly in JS.
Now we can easily control this in JavaScript.
Add/modify these variables so that we can use them here.
// to manage score dynamically
let score_val = document.querySelector('.score_val');
let score_title = document.querySelector('.score_title');
// to manage the message displayed on the screen dynamically.
let message = document.querySelector('.message');
// So that the game doesn't suddenly start
let game_state = 'Start';
// Because we are showing message initially not the bird
img.style.display = 'none';
// giving style to the message.
message.classList.add('messageStyle');
Start the game on the press of the enter key.
document.addEventListener('keydown', (e) => {

    if(e.key == 'Enter' && game_state != 'Play'){
        // remove message
        message.innerHTML = '';
        message.classList.remove('messageStyle');
        // initialize score
        score_title.innerHTML = 'Score : ';
        score_val.innerHTML = '0';
        // get the bird in the game now
        img.style.display = 'block';
        bird.style.top = '40vh';
        // now we can start the game.
        game_state = 'Play';
        // start it here.
        play();
    }
});
We need to shift our apply_gravity method to a new play method.
Also, move the variable bird_dy into the play method.
And yes don’t forget to requestAnimationFrame(apply_gravity); in the play method.
6. Plumb The Pipes
We will generate pipes dynamically only so no html is needed.
But to make them look good we do need CSS.
.pipe_sprite {
    position: fixed;
    top: 40vh;
    left: 100vw;
    height: 70vh;
    width: 6vw;
    background:radial-gradient(lightgreen 50%, green);
    border: 5px solid black;
}
This is the basic CSS, when you add that will make all our pipes good. (Note pipes won’t appear if you miss this step.)
Time to create the pipes.
All of this happens inside play.
Below:
requestAnimationFrame(apply_gravity); // Outside the apply_gravityn method
// keeps track of when to create a new pipe
let pipe_seperation = 0;
// Space between two pairs of pipes
let pipe_gap = 35;
First, we need to set a variable that keeps track of when to create a new pair of pipes.
The pipes will be created in pairs that’s why we need a variable to keep a constant gap between them.
if(pipe_seperation > 115){
   pipe_seperation = 0;
}
pipe_seperation++;
Let’s create a method create_pipe that works only if the game is in Play state and builds pipe only when there is sufficient distance covered after the previous pair of pipes.
Also, it should set the counter back to 0 before it starts creating the pipes.
The separation counter must increment if there is not sufficient distance yet between the previous pair of pipes and the current position.
The pipes won’t be of the same size always that’s why we need to have random sizes using the math module. This line generates a random position between 8vh to 51vh (8 + 43).
// size of the pipes
let pipe_posi = Math.floor(Math.random() * 43) + 8;
// let's create the upper pipe and add it
// creating a new div
let pipe_sprite_inv = document.createElement('div');
// adding the css styling by adding class to it.
pipe_sprite_inv.className = 'pipe_sprite';
// positioning the pipe
pipe_sprite_inv.style.top = pipe_posi - 70 + 'vh';
pipe_sprite_inv.style.left = '100vw';
// adding it to the html
document.body.appendChild(pipe_sprite_inv);This creates the upper pipe. Here’s the code explanation:
Creates the upper pipe (pipe_sprite_inv).
pipe_sprite_inv.style.top = pipe_posi - 70 + 'vh'
- Positions the upper pipe above the random position.
- -70vh ensures it extends above the screen.
pipe_sprite_inv.style.left = '100vw'
- This places the pipe at the far right of the screen (off-screen initially).
document.body.appendChild(pipe_sprite_inv);
- Adds the upper pipe to the document so it appears in the game.
Now add the bottom pipe:
// Create the bottom pipe to complete our pair
let pipe_sprite = document.createElement('div');
pipe_sprite.className = 'pipe_sprite';
// It places the lower pipe below the random position, leaving a gap of 35vh.
pipe_sprite.style.top = pipe_posi + pipe_gap + 'vh';
pipe_sprite.style.left = '100vw';
// This custom attribute will help detect when the bird successfully passes through the pipe to increase the score.
pipe_sprite.increase_score = '1';
document.body.appendChild(pipe_sprite);
This method should call itself again and should be called in the play method also.
 requestAnimationFrame(create_pipe);
    }
    requestAnimationFrame(create_pipe);
Don’t forget to remove the pipes when the new game starts. That is on the press of the enter key.
// remove all the pipes before new game starts
document.querySelectorAll('.pipe_sprite').forEach((e) => {
            e.remove();
});
If you run this game again nothing changes as the pipes are built 100vw away that is offscreen.
To get there let’s move the bird or let’s say move the pipes to create an illusion that the birds are moving horizontally and put this game together.
Why Not Move the Bird Instead?
Easier Physics → No need to manage forward acceleration.
Classic Flappy Bird Mechanic → Pipes move, not the bird.
Efficient Collision Detection → The bird stays still while pipes check for collisions.
7. Ending The Game To Start The Play
Add these global variables:
// To make the movement and control the game's speed
let move_speed = 3;
// To play some sounds for better user experience.
let sound_point = new Audio('sounds effect/point.mp3');
let sound_die = new Audio('sounds effect/die.mp3');
Make a method to move the pipes leftwards and detect collisions at the start of the play method. It only runs if the game is in Play state.
And get all the pipes.
Also, do the request frame animation thing in the method and outside it.
function move() {
        if(game_state != 'Play') return;
        // Get all the pipes in the game.
        let pipe_sprite = document.querySelectorAll('.pipe_sprite');
        requestAnimationFrame(move);
    }
    requestAnimationFrame(move);
Loop through each pipe. Get each pipe’s position and the bird’s position. Remove the pipes that are already at the extreme left, that are out of the screen.
// loop through each pipe
        pipe_sprite.forEach((element) => {
            let pipe_sprite_props = element.getBoundingClientRect();
            bird_props = bird.getBoundingClientRect();
            // remove pipe if out of screen
            if(pipe_sprite_props.right <= 0){
                element.remove();
            }else{

            }
        });
End the game if the bird collides with the pipe.
else{
                // check if game ends
                if(bird_props.left < pipe_sprite_props.left + pipe_sprite_props.width && bird_props.left + bird_props.width > pipe_sprite_props.left && bird_props.top < pipe_sprite_props.top + pipe_sprite_props.height && bird_props.top + bird_props.height > pipe_sprite_props.top){

                    game_state = 'End';
                    message.innerHTML = 'Game Over'.fontcolor('red') + '<br>Press Enter To Restart';
                    message.classList.add('messageStyle');
                    img.style.display = 'none';
                    sound_die.play();
                    return;
                }else{

                }
            }
Give the player a point if they successfully cleared the obstacle pipes.
else{
                    // increase score if pipes successfully passed
                    if(pipe_sprite_props.right < bird_props.left && pipe_sprite_props.right + move_speed >= bird_props.left && element.increase_score == '1'){
                        score_val.innerHTML =+ score_val.innerHTML + 1;
                        sound_point.play();
                    }
                    // move the pipes leftwards
                    element.style.left = pipe_sprite_props.left - move_speed + 'px';
                }
Making It Dynamic (Optional)
Add this and it will be a little responsive.
@media only screen and (max-width: 1080px) {
    .message{
        font-size: 50px;
        top: 50%;
        white-space: nowrap;
    }
    .score{
        font-size: 8vh;
    }
    .bird{
        width: 120px;
        height: 90px;
    }
    .pipe_sprite{
        width: 14vw;
    }
}
How Did I Make It Run on the CodePen?
I had to make a few tweaks in order to make it run on CodePen.
I first had to upload all the images on the python-hub’s server so that I would get to access them anywhere.
Then I modified the image paths.
Next, I removed sound variables. Not that it’s not possible but I turned out to be a little lazy. 😅😅
I would appreciate it if you try to add that on your own.
Then I had to modify this on enter press event:
// start game only when enter is pressed and game wasn't already being played.
document.addEventListener("keydown", (e) => {
  if (e.key == "Enter" && game_state != "Play") {
    // remove all the pipes before new game starts
    document.querySelectorAll(".pipe_sprite").forEach((e) => {
      e.remove();
    });
    // remove message
    message.innerHTML = "";
    message.classList.remove("messageStyle");
    // initialize score
    score_title.innerHTML = "Score : ";
    score_val.innerHTML = "0";
    // get the bird in the game now
    img.style.display = "block";
    bird.style.top = "40vh";
    // Reset variables
    bird_dy = 0;
    bird_props = bird.getBoundingClientRect(); // Update the bird's position

    // now we can start the game.
    game_state = "Play";
    // start it here.
    play();
  }
});
Also, the reload inside apply_gravity when the game ends:
 if (bird_props.top <= 0 || bird_props.bottom >= background.bottom) {
      game_state = "End";
      message.innerHTML =
        "Game Over".fontcolor("red") + "<br>Press Enter To Restart";
      message.classList.add("messageStyle");
      img.style.display = "none"; // Hide the bird
      return;
    }
Why?
Because window.location.reload() cannot be called in the Code Pen.
That’s it.
I would love to see your own versions of it next. Tell me if you want something to be added here.
See you in the next one till then stay happy and keep coding…